
Prerequisites
You should use a non-root user account with sudo privileges. Please see the Initial server setup for Ubuntu 18.04 / 19.10 guide for more details.
1. Install Apache
Let’s begin by updating the repositories and installing Apache. Press y and ENTER if prompted to install.
sudo apt update && sudo apt install apache2Installation may take a few minutes. Once installed, continue to Step 2 to configure the firewall.
2. Configure Firewall
It is highly recommended that you configure a firewall for added security.
We’ll start by adding a firewall rule for SSH because if you are configuring your server remotely, you don’t want to get locked out when enabling the firewall! You may have already done this in the our Initial server setup for Ubuntu 18.04 / 19.10 guide, but it’s no harm adding it again just in case. If the rule already exists, the command will just skip it.
sudo ufw allow OpenSSHIf you get an error “ERROR: could find a profile matching openSSH”, this probably means you are not configuring the server remotely and can ignore it.
Now we can add the firewall rules for Apache.
sudo ufw allow in "Apache Full"Now enable the firewall if it isn’t already.
sudo ufw enablePress y if you see a message “Command may disrupt existing ssh connections”.
If the firewall was activated correctly, you should see “Firewall is active and enabled on system startup“.
You can also check the current firewall status with:
sudo ufw statusStatus: active
To Action From
-- ------ ----
OpenSSH ALLOW Anywhere
Apache Full ALLOW Anywhere
OpenSSH (v6) ALLOW Anywhere (v6)
Apache Full (v6) ALLOW Anywhere (v6)
Above we can see the firewall is active and has two rules per service. v6 is short for IPv6. This is the new Internet Protocol, which was introduced to deal with the long-anticipated problem of IPv4 address exhaustion.
3. Test Apache
To see if Apache installed correctly, we can check the current Apache service status.
sudo service apache2 statusIf it is up and running, you should see a green active state.
● apache2.service - The Apache HTTP Server
Loaded: loaded (/lib/systemd/system/apache2.service; enabled; vendor preset: enabled)
Drop-In: /lib/systemd/system/apache2.service.d
└─apache2-systemd.conf
Active: active (running) since Sat 2018-03-31 08:44:04 CEST; 15min ago
Main PID: 5727 (apache2)
Tasks: 55 (limit: 4915)
CGroup: /system.slice/apache2.service
├─5727 /usr/sbin/apache2 -k start
├─5728 /usr/sbin/apache2 -k start
└─5729 /usr/sbin/apache2 -k start

Mar 31 08:44:04 ubuntu1804 systemd[1]: Starting The Apache HTTP Server...
Mar 31 08:44:04 ubuntu1804 apachectl[5675]: AH00558: apache2: Could not reliably determine the server's fully qualified domain name, using 127.0.1.1.
Mar 31 08:44:04 ubuntu1804 systemd[1]: Started The Apache HTTP Server.
If you get the above error about a fully qualified domain name, you can ignore it.
You may need to press q to exit the server status.
Now that the Apache service is up and running, you should be able to view the test Apache web page through your web browser. Enter the IP address of your server in the address bar and hit ENTER.
If you don’t know your IP, you can find out with the following command.
ip a | grep -Eo 'inet (addr:)?([0-9]*\.){3}[0-9]*' | grep -Eo '([0-9]*\.){3}[0-9]*' | grep -v '127.0.0.1'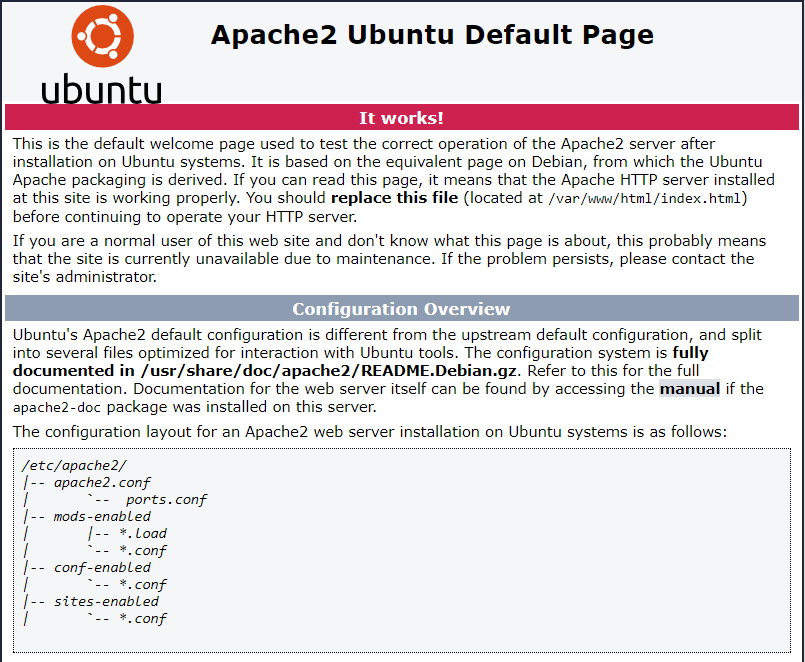
You’re all set! You can find this Apache default welcome page in the folder /var/www/html. To edit this file:
sudo nano /var/www/html/index.htmlPress CTRL + X to exit the nano text editor.
Your Apache web server is ready to go. You can now add your own html files and images the the /var/www/html directory as you please. However, you should acquaint yourself with and set up at least one Virtual Host for Apache in the next step as most of our Ubuntu 18.04 / 19.10 guides are written with Virtual Hosts in mind.
Virtual Hosts allow you to host multiple web sites/domains on one server. Even you only ever intend on hosting one website or one domain, it’s still a good idea to configure at least one Virtual Host.
If you wish to instead go straight to setting up PHP on your new Apache web server, please see guide Installing PHP for Apache on Ubuntu 18.04.
4. Set Up Virtual Hosts
If you wish to host multiple sites/domains on Apache, you should now set up your directory structures and Virtual Hosts. Even if you only want to host one site/domain, it’s a good idea to set up a directory and Virtual Host now because if you ever need to add a new domain later, it will makes things a lot easier for you.
For the purposes of this guide, we will make a virtual host for mytest1.com and another for mytest2.com. You can substitute these with your own registered domains, or if you don’t have any domains yet, you can still follow this guide and add mytest1.com and mytest2.com to your hosts file to trick your OS into resolving these domains in the browser. We explain how to do this at the end of the guide.
4.1. Create Directories and Set Permissions
Let’s create two new directories in the /var/www/ directory for our two domains.
sudo mkdir -p /var/www/mytest1.com/public_htmlsudo mkdir -p /var/www/mytest2.com/public_htmlWe must also change the permissions for the general web directory /var/www and its contents so that pages can be served correctly.
sudo chmod -R 755 /var/www4.2. Create Test Web Pages
We’ll now create a simple index.html web page for each domain using nano text editor.
Don’t forget to replace mytest1.com with your own domain if you have one.
sudo nano /var/www/mytest1.com/public_html/index.htmlPaste in the following (If using PuTTY, right-click to paste).
<html>
   <head>
     <title>Welcome to mytest1.com</title>
   </head>
   <body>
      <h1>Welcome to mytest1.com</h2>
   </body>
</html>
Save and exit (press CTRL + X, press Y and then press ENTER)
Now do the same for mytest2.com.
sudo nano /var/www/mytest2.com/public_html/index.htmlPaste in the following (If using PuTTY, right-click to paste).
<html>
   <head>
     <title>Welcome to mytest2.com</title>
   </head>
   <body>
      <h1>Welcome to mytest2.com</h2>
   </body>
</html>
Save and exit (press CTRL + X, press Y and then press ENTER)
4.3. Create New Virtual Host Files
The Virtual Host files located in /etc/apache2/sites-available/ are used to tell the Apache web server how to respond to various domain requests.
Let’s create a new virtual host file for our mytest1.com domain.
sudo nano /etc/apache2/sites-available/mytest1.com.confIn nano, paste in the block below. To paste into nano, press the right mouse button.
<VirtualHost *:80>
    ServerAdmin webmaster@mytest1.com
    ServerName mytest1.com
    ServerAlias www.mytest1.com
    DocumentRoot /var/www/mytest1.com/public_html
    ErrorLog ${APACHE_LOG_DIR}/error.log
    CustomLog ${APACHE_LOG_DIR}/access.log combined
</VirtualHost>
Be sure to change all instances of mytest1.com to your own domain if you have one.
Save and close nano (Press CTRL + X and then press y and ENTER to save changes)
We can now repeat the above process for mytest2.com.
sudo nano /etc/apache2/sites-available/mytest2.com.confIn nano, paste in the block below. To paste into nano, press the right mouse button.
<VirtualHost *:80>
    ServerAdmin webmaster@mytest2.com
    ServerName mytest2.com
    ServerAlias www.mytest2.com
    DocumentRoot /var/www/mytest2.com/public_html
    ErrorLog ${APACHE_LOG_DIR}/error.log
    CustomLog ${APACHE_LOG_DIR}/access.log combined
</VirtualHost>
Be sure to change all instances of mytest2.com to your own domain if you have one.
Save and close nano (Press CTRL + X and then press y and ENTER to save changes)
4.4. Enable the New Virtual Host Files
Now that we have our two virtual host files in place, we need to use the a2ensite tool to enable them.
Remember again to replace mytest1.com and mytest2.com with your own domains.
sudo a2ensite mytest1.com.confsudo a2ensite mytest2.com.confTest the configuration syntax for errors.
apachectl configtestYou can ignore any errors that say Could not reliably determine the server’s fully qualified domain name.
If you see Syntax OK, restart Apache.
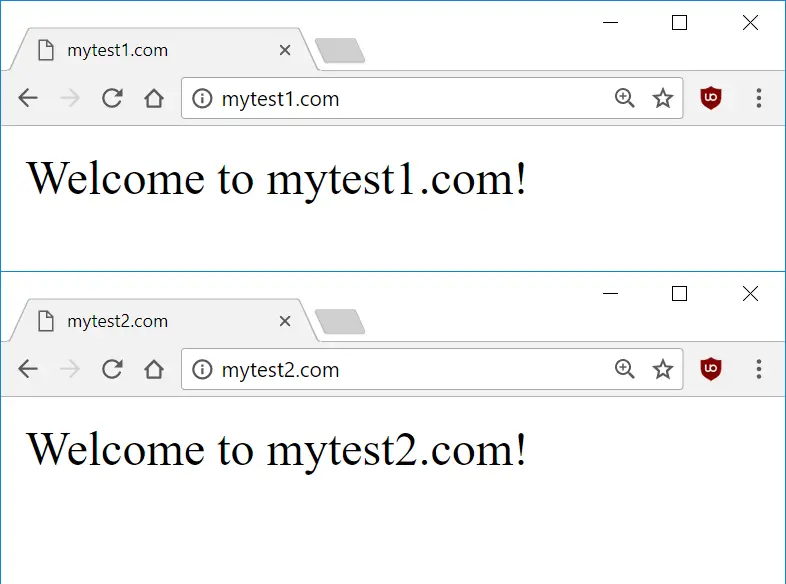
sudo systemctl reload apache2Assuming you have already configured DNS on your domain registrar to point your domains to the IP of your Apache server, you should now be able to view these test webpages in the web browser. If you don’t have your own domains and just want to test, continue to Step 4.5 to edit your hosts file.
4.5 Edit Hosts file (optional)
If you do not have any domains registered and instead just want to load mytest1.com and mytest2.com as a test, you can edit the hosts file in your OS to point these domains to your server.
To edit hosts file in Linux or Mac, run sudo nano /etc/hosts. In Windows, follow this guide to edit hosts. Once hosts files is open, enter two new lines
x.x.x.x mytest1.com
x.x.x.x mytest2.com
Replace x.x.x.x with your web server’s IP.
If you don’t know your web server’s IP, you can find out with:
ip a | grep -Eo 'inet (addr:)?([0-9]*\.){3}[0-9]*' | grep -Eo '([0-9]*\.){3}[0-9]*' | grep -v '127.0.0.1'Once you’ve saved you hosts file, you should be able to access mytest1.com and mytest2.com in your browser.
5. Configure Apache (Optional)
Now that you have Apache up and running, there may be some common configuration changes that will be useful to you.
5.1. Enable AllowOverride
You will find that .htaccess will be ignored by default in Apache. If this is something you will need, we can enable it by altering the Apache configuration file.
Firstly, backup the configuration file.
sudo cp /etc/apache2/apache2.conf /etc/apache2/apache2.conf.bakOpen the config file.
sudo nano /etc/apache2/apache2.confPress CTRL + W and search for <Directory /var/www/>. Alternatively, scroll down to the following section:
<Directory /var/www/>
        Options Indexes FollowSymLinks
        AllowOverride None
        Require all granted
</Directory>
AllowOverride None means that .htaccess will be ignored. Change it to AllowOverride All.
<Directory /var/www/>
        Options Indexes FollowSymLinks
        AllowOverride All
        Require all granted
</Directory>
Save and exit (press CTRL + X, press Y and then press ENTER)
Restart Apache.
sudo systemctl restart apache25.2. Disable directory listing
Apache by default will list contents of your directories without indexes (index.html, index.php). This is a security risk because it could allow hackers to browse your web server looking for scripts.
You can disable this feature by deleting Indexes (in red below) from the Apache configuration file.
<Directory /var/www/>
        Options Indexes FollowSymLinks
        AllowOverride All
        Require all granted
</Directory>
Save and exit (press CTRL + X, press Y and then press ENTER)
Restart Apache.
sudo systemctl restart apache25.3. Enable mod_rewrite
If you want to later configure some rules in .htaccess, you will most likely need to enable mod_rewrite.
sudo a2enmod rewriteRestart Apache.
sudo systemctl restart apache26. Disable Default Virtual Host (optional)
If you configured virtual hosts and visit your server via IP, you may still see the default Apache test page.
This page may generate unnecessary access and error logs due to bots and spiders. To disable:
sudo nano /etc/apache2/sites-available/000-default.confAdd this anywhere within the <VirtualHost *:80> block.
<Location />
    Deny from all
    Options None
    ErrorDocument 403 Forbidden.
</Location>
Save and exit (press CTRL + X, press Y and then press ENTER)
Restart Apache.
sudo systemctl restart apache2Now when you visit your server via IP, you should see a forbidden message.
7. Apache Logs
To view the Apache error log and access log files, we can use tail to display the last 200 entries.
sudo tail /var/log/apache2/error.log -n 200sudo tail /var/log/apache2/access.log -n 200To output appended data as the logs grows, use -f.
sudo tail /var/log/apache2/error.log -fsudo tail /var/log/apache2/access.log -fWhat Next?
Now that you have your Apache server tested and working, the next step is to install PHP and MySQL, both required for most popular web applications. You might also want to configure a free SSL cert.
- Installing PHP for Apache on Ubuntu 18.04 / 19.10 Server
- Installing MySQL on Ubuntu 18.04 / 19.10 Server
- Installing phpMyAdmin for Apache on Ubuntu 18.04 / 19.10
- Configuring Let’s Encrypt SSL Cert for Apache on Ubuntu 18.04 / 19.10
- Installing an FTP server (vsftpd) on Ubuntu 18.04 / 19.10
- How to configure SFTP for a web server document root
- Creating Swap Space on Ubuntu 18.04 / 19.10
- How to Install VNC on Ubuntu 18.04 / 19.10
- Automatically Back Up Your Web Server Doc Root with Tar and Cron
- Automatically Back Up MySQL Databases with Cron
Let me know if this helped. Follow me on Twitter, Facebook and YouTube, or 🍊 buy me a smoothie.

how is thc cbd level determined
if i am using a “subdomain” in “mysite2.com” will it work?
Yes, should do no problem.
Great tutorial, exactly what I needed, Thank you!
Is it possible to have two SSL certificates protecting the same directory on the same server? I tried it, both sites were enabled but only one certificate worked.
Enjoy you explanations. Hope you might include a ‘Installing Postgresql on Ubuntu 18.04 Server’ as you have done for MySQL.
hi dude, thanks for precious article, i want to ask about firewall, if i configured firewall (enabled it) i can’t access my website, may you know the solution for this issue
It worked! Thanks!
Do you have any advice on how I can use wordpress for “mysite1.com”?? I mean instead of using a static page ??? When I do it, I only get myip/wordpress.
Thanks, Kim
I loved follow your tutorials both on how to install a website with apache. And installing several websites with Apache. Do you have any tutorials (or know about any good guides) about installing websites with containers?? Example do all the processes you already have done here and set it as a template in the container ??? A follow up question: Is docker the best container ??
Thanks
Thanks for the comment. I don’t use containers myself so I don’t have any guides or recommendations just now, though I may do in future.
“The $(whoami) variable will take the value of the user you are currently logged in as.”
Hi,
As a newbie, I really appreciate the clear style of this tutorial, which I am using to create my own virtual hosting on metal at home.
I may be totally wrong, but the whoami command used above returns the user inputting the command not the logged in user. ie as sudo, it will return root not the logged in username.
Might this not create problems?
Surely, to achieve your stated criteria, the $USER should be used?
A problem I have is that all my domains are accessible via dd-wrt DNSMasque router firmware on my LAN on Windows machines, but not on Linux machines.
Any guidance would be appreciated.
The owner of the
public_htmlfolder doesn't really matter here. When you create that folder, the default owner and group is set toroot. See this example:It's only when you are running the subsequent
echocommand and later uploading files via FTP/SFTP where you have to set the correct owner and group here. That's why I set the owner as$(whoami)because usually the currently logged in user is the one who will be uploading files via FTP/SFTP, not therootaccount. Don't forget, the Prerequisites for this guide state that you should not be logged in asroot, but rather a user under your own name. With that in mind,$(whoami)will set the folder permissions to that user.I'm not sure I fully understand what you mean by "logged in user" and "user inputting the command". The guide assumes that the user currently logged in is the one inputting the commands, so both
$(whoami)and$usershould return the same value.Anyway, I will probably remove that
$(whoami)command from the article because in hindsight it may be unnecessarily confusing. Instead, people can set the folder permissions when configuring FTP/SFTP is my other guides.Thank you for this speedy explanation, which I think I understand the logic of (having only a small brain!).
To clarify what I was trying to say, as I understand it the current user whilst the console is active, toggles between the user’s username and root (whilst sudo privileges are invoked) and this would alter what whoami returns ie The whoami value is dynamic. $USER is not, other than it changes between different usernames as logged in.
Please accept that this a is a newbie commenting and I don’t pretend to be sure that my perception is correct.
Thank you for mentioning your FTP articles, as I am now learning a whole lot more about the different ways in which FTP protocols are set up.
Please keep up the excellent work!
Thanks for your help, your solution works very well. : D
Great 🙂
I said that it worked a treat, and it does, for all of my sites except one. I have no idea why, I have checked and checked everything, and it should be working, but this ONE site http://www.–.co.uk is not working, http://www.–.com and http://www.–.com all work fine. Any ideas?
Hi Vincent. All these domains work fine for me. It could either be a caching issue with your browser or DNS hasn’t propagated to your ISP yet. Try a different browser or proxy.
Spot on mate, worked a treat.
👍