Disclaimer: It is not recommend that you use swap space as a replacement to physical memory, especially on cloud hosting. If you are continuously eating into swap space, you should upgrade your physical memory. Swap space should really only be a fall back in case memory usage peaks abnormally.
If you want to increase or resize your currently configured swap space, please skip to:
1. Create a Swap File
First check if the system has any swap configured.
swapon --showIf the output is blank, there is no swap configured so we can continue with this guide.
We will use the fallocate program to create a swap file.
Best practice is to create a swap file double the amount of your RAM. If you have 1024MB of RAM, create a 2GB swap file.
sudo fallocate -l 2G /swapfileNow check if the file was created.
ls -lh /swapfileIf it was created correctly, you should see something like:
-rw-r--r-- 1 root root 2.0G Aug 3 18:59 /swapfile2. Configure Swap File
Make the swap file only accessible to root.
sudo chmod 600 /swapfileMark the file as a swap file.
sudo mkswap /swapfileIf it was successful, you should see something like
Setting up swapspace version 1, size = 2 GiB (2147479552 bytes)
no label, UUID=00aafaee-51c9-46b3-a0fc-8240c134048e
Finally we will tell the system to start using our new swap file,
sudo swapon /swapfileTo verify that the swap is now available type:
sudo swapon --showResult:
NAME      TYPE  SIZE USED PRIO
/swapfile file  2G   0B   -2
We can also run the following to see our new swap file alongside physical memory
free -hResult:
              total        used        free      shared  buff/cache   available
Mem:           985M        418M        104M         26M        462M        392M
Swap:          2.0G          0B        2.0G
3. Make it Persistent
This swap will only last until next reboot. In order to make it permanent, we will add it to the /etc/fstab file.
echo '/swapfile none swap sw 0 0' | sudo tee -a /etc/fstab4. Some Final Tweaks
For a server, you should change the swappiness value to 10.
sudo sysctl vm.swappiness=10Now change the vfs_cache_pressure value to 50.
sudo sysctl vm.vfs_cache_pressure=50To make these two settings persist after next reboot, edit the following file:
sudo nano /etc/sysctl.confAdd this to the bottom.
vm.swappiness=10
vm.vfs_cache_pressure=50
Save file and exit. (Press CTRL + X, press Y and then press ENTER).
If you can, reboot the server with sudo reboot and run sudo swapon --show just to make sure the swap space was created automatically on startup.
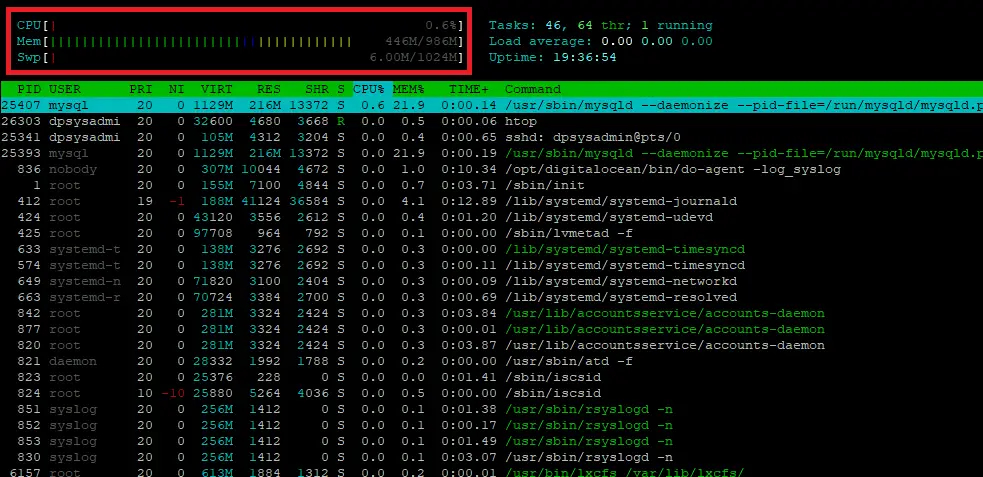
A useful way to keep an eye on your swap usage and system resources is to run htop. See: Better system monitoring with htop.
Increase or Resize Swap Space
In order to increase or resize your swap space, you must first disable it.
First, check if swap space is indeed enabled with:
ls -lh /swapfileOutput:
-rw------- 1 root root 1.0G Aug 3 2018 /swapfileIn the above example. we can see that there is 1GB of swap space configured. I now want to double this to 2GB.
In order to do so, you must first disable the current swap space.
This action may take a minute or so to execute, so don’t panic!
sudo swapoff -aYou can now resize the swap space with fallocate. In this example, I am increasing it to 2GB.
sudo fallocate -l 2G /swapfileNow check how much swap space is configured with:
ls -lh /swapfileOutput:
-rw------- 1 root root 2.0G Feb 13 03:12 /swapfileAbove we can see there is now 2GB of swap space configured.
Make the swap file only accessible to root.
sudo chmod 600 /swapfileMark the file as a swap file.
sudo mkswap /swapfileYou may see a warning when resizing a previous swap file.
mkswap: /swapfile: warning: wiping old swap signature.
Setting up swapspace version 1, size = 2 GiB (2147479552 bytes)
no label, UUID=db0ee16f-a97f-4df0-a83e-713cd874a3fe
Finally we will tell the system to start using our new swap file.
sudo swapon /swapfileTo verify that the swap is now available, type:
sudo swapon --showOutput:
NAME      TYPE SIZE  USED PRIO
/swapfile file   2G 35.3M   -2
Above we can see a 2GB swap file available.
We can also run the following command to see our new swap file alongside physical memory.
free -h total used free shared buff/cache available
Mem: 985M 674M 66M 61M 244M 110M
Swap: 2.0G 77M 1.9GYour resized swap is ready to go!
If you can, reboot the server with sudo reboot and run sudo swapon --show again just to make sure the swap space was created automatically on startup.
Let me know if this helped. Follow me on Twitter, Facebook and YouTube, or 🍊 buy me a smoothie.

Thankyou… clear and complete… worked a charm…
Please note it is recommended to not use fallocate. reference man swapon
Thanks Jack, noted. Could you link me to some further dicussion on this?
You are a genius, certainly the best guides I have coime across Thank you
Great tutorial. Thank you!
I just don’t really understand exactly why we need to change swappiness and cache pressure.