In this guide we will install and configure MySQL on Ubuntu 16.04 / 17.10.
1. Install MySQL
Let’s begin by updating the list of available packages and installing MySQL.
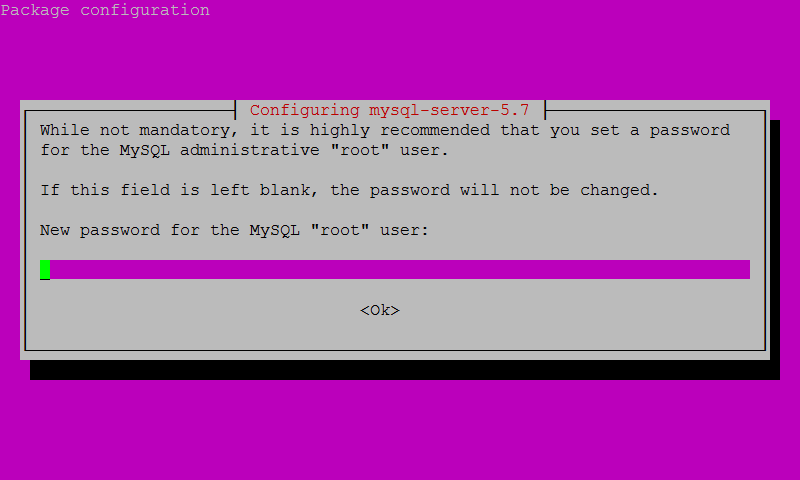
sudo apt-get updatesudo apt-get install mysql-serverYou will be prompted to create a password for the MySQL root user. It’s recommended that you use a strong password and keep it safe.
2. Configure MySQL
It is recommended that you run sudo mysql_secure_installation. This program enables you to improve the security of your MySQL installation by implementing some security recommendations.
sudo mysql_secure_installationYou will be prompted to enter the MySQL root password you created in step 1.
You will then be asked if you want to set up the Validate Password Plugin. It’s not really necessary unless you want to enforce strict password policies for some reason.
VALIDATE PASSWORD PLUGIN can be used to test passwords
and improve security. It checks the strength of password
and allows the users to set only those passwords which are
secure enough. Would you like to setup VALIDATE PASSWORD plugin?
Press N for no and then press ENTER
Change the password for root ?We already set up the root password in step 1 so press N for no and then press ENTER
Remove anonymous users?Press Y for yes and then press ENTER
Disallow root login remotely?Press Y for yes and then press ENTER
Remove test database and access to it?Press Y for yes and then press ENTER
Remove test database?Press Y for yes and then press ENTER
Reload privilege tables now?Press Y for yes and then press ENTER
All done!
3. Test MySQL
Now, let’s check to see if the MySQL service is running.
sudo systemctl status mysql.serviceIf MySQL is running, you should see:
● mysql.service - MySQL Community Server
   Loaded: loaded (/lib/systemd/system/mysql.service; enabled; vendor preset: enabled)
   Active: active (running) since Sun 2017-08-27 20:46:17 IST; 1h 21min ago
 Main PID: 14308 (mysqld)
   CGroup: /system.slice/mysql.service
           └─14308 /usr/sbin/mysqld
We can also test if MySQL is running correctly by logging in and running the version command.
sudo mysqladmin -p -u root versionEnter your MySQL root password and you should see the following:
mysqladmin  Ver 8.42 Distrib 5.7.19, for Linux on x86_64
Copyright (c) 2000, 2017, Oracle and/or its affiliates. All rights reserved.

Oracle is a registered trademark of Oracle Corporation and/or its
affiliates. Other names may be trademarks of their respective
owners.

Server version          5.7.19-0ubuntu0.16.04.1
Protocol version        10
Connection              Localhost via UNIX socket
UNIX socket             /var/run/mysqld/mysqld.sock
Uptime:                 1 hour 29 min 49 sec

Threads: 1  Questions: 10  Slow queries: 0  Opens: 115  Flush tables: 1  Open tables: 34  Queries per second avg: 0.001
You have now successfully installed and configured MySQL!
A note about Strict SQL Mode
As you are now using the latest version of MySQL, strict SQL mode is enabled by default. If your application is not compatible with strict SQL mode and you are getting MySQL errors, you can disable it. Otherwise you may skip this step.
This change disables two SQL mode settings, STRICT_TRANS_TABLES and ONLY_FULL_GROUP_BY, that were added in MySQL 5.7 and cause problems for some older applications.
To disable MySQL strict mode, begin by creating this file.
sudo nano /etc/mysql/conf.d/disable_strict_mode.cnfAnd paste in the following.
[mysqld]
sql_mode=IGNORE_SPACE,NO_ZERO_IN_DATE,NO_ZERO_DATE,ERROR_FOR_DIVISION_BY_ZERO,NO_AUTO_CREATE_USER,NO_ENGINE_SUBSTITUTION
Save file and exit. (Press CTRL + X, press Y and then press ENTER
Restart MySQL service.
sudo service mysql restartLet me know if this helped. Follow me on Twitter, Facebook and YouTube, or 🍊 buy me a smoothie.
