
1. Install Nginx
Let’s begin by updating the package lists and installing Nginx on Ubuntu 18.04 / 19.10. Below we have two commands separated by &&. The first command will update the package lists to ensure you get the latest version and dependencies for Nginx. The second command will then download and install Nginx.
sudo apt update && sudo apt install nginxOnce installed, check to see if the Nginx service is running.
sudo service nginx statusIf Nginx is running correctly, you should see a green Active state below.
● nginx.service - A high performance web server and a reverse proxy server
   Loaded: loaded (/lib/systemd/system/nginx.service; enabled; vendor preset: enabled)
   Active: active (running) since Mon 2018-05-14 23:03:47 UTC; 16s ago
     Docs: man:nginx(8)
  Process: 13003 ExecStart=/usr/sbin/nginx -g daemon on; master_process on; (code=exited, status
  Process: 12994 ExecStartPre=/usr/sbin/nginx -t -q -g daemon on; master_process on; (code=exite
 Main PID: 13006 (nginx)
    Tasks: 2 (limit: 1153)
   CGroup: /system.slice/nginx.service
           ├─13006 nginx: master process /usr/sbin/nginx -g daemon on; master_process on;
           └─13009 nginx: worker process
2. Configure Firewall
If you haven’t already done so, it is recommended that you enable the ufw firewall and add a rule for Nginx. Before enabling ufw firewall, make sure you add a rule for SSH, otherwise you may get locked out of your server if you’re connected remotely.
sudo ufw allow OpenSSHIf you get an error “ERROR: could find a profile matching openSSH”, this probably means you are not configuring the server remotely and can ignore it.
Now add a rule for Nginx.
sudo ufw allow 'Nginx HTTP'Rule added
Rule added (v6)Enable ufw firewall.
sudo ufw enableCommand may disrupt existing ssh connections. Proceed with operation (y|n)? y
Firewall is active and enabled on system startupNow check the firewall status.
sudo ufw statusStatus: active
To Action From
-- ------ ----
OpenSSH ALLOW Anywhere
Nginx HTTP ALLOW Anywhere
OpenSSH (v6) ALLOW Anywhere (v6)
Nginx HTTP (v6) ALLOW Anywhere (v6)That’s it! Your Nginx web server on Ubuntu 18.04 / 19.10 should now be ready.
4. Test Web Server
Go to your web browser and visit your domain or IP. If you don’t have a domain name yet and don’t know your IP, you can find out with:
ip a | grep -Eo 'inet (addr:)?([0-9]*\.){3}[0-9]*' | grep -Eo '([0-9]*\.){3}[0-9]*' | grep -v '127.0.0.1'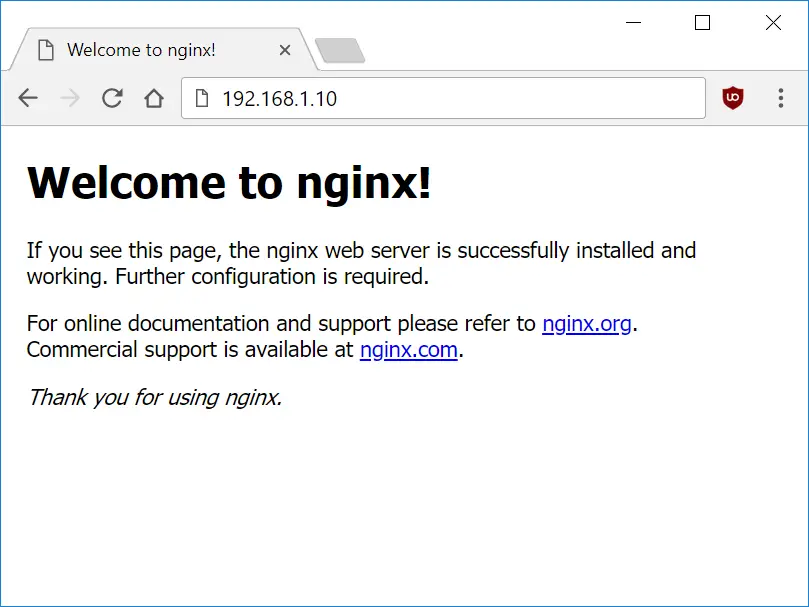
You can find this Nginx default welcome page in the document root directory /var/www/html. To edit this file in nano text editor:
sudo nano /var/www/html/index.htmlTo save and close nano, press CTRL + X and then press y and ENTER to save changes.
Your Nginx web server is ready to go. You can now add your own html files and images the the /var/www/html directory as you please. However, you should acquaint yourself with and set up at least one Server Block for Nginx as most of our Ubuntu 18.04 / 19.10 guides are written with Server Blocks in mind.
Server Blocks allow you to host multiple web sites/domains on one server. Even you only ever intend on hosting one website or one domain, it’s still a good idea to configure at least one Server Block.
5. Configure Server Blocks
If you wish to host multiple sites/domains on Nginx, you should now set up your directory structures and Server Blocks. Even if you only want to host one site/domain, it’s a good idea to set up a directory and Server Block now because if you ever need to add a new domain later, it will makes things a lot easier for you.
For the purposes of this guide, we will make a Server Block for mytest1.com and another for mytest2.com. You can substitute these with your own registered domains, or if you don’t have any domains yet, you can still follow this guide and add mytest1.com and mytest2.com to your hosts file to trick your OS into resolving these domains in the browser. We’ll explain how to do this at the end of the guide.
5.1. Create Directories and Set Permissions
Let’s create two new directories in the /var/www/ directory for our two domains.
sudo mkdir -p /var/www/mytest1.com/public_htmlsudo mkdir -p /var/www/mytest2.com/public_htmlIf we want our regular non-root user to be able to modify files in these directories, we must change the ownership.
sudo chown -R $(whoami):$(whoami) /var/www/mytest1.com/public_htmlsudo chown -R $(whoami):$(whoami) /var/www/mytest2.com/public_htmlThe $(whoami) variable will take the value of the user you are currently logged in as.
We must also make sure the permissions for the general web directory /var/www and its contents are set to 755 so that pages can be served correctly.
sudo chmod -R 755 /var/www5.2. Create Test Web Pages
We’ll now create a simple index.html web page for each domain using the echo command.
Don’t forget to replace mytest1.com with your own domain here if you have one.
sudo echo "Welcome to mytest1.com!" > /var/www/mytest1.com/public_html/index.htmlNow do the same for mytest2.com.
sudo echo "Welcome to mytest2.com!" > /var/www/mytest2.com/public_html/index.html5.3 Create the First Server Block
Nginx contains a default server block in /etc/nginx/sites-available/default which we can use as a template for our own server blocks.
Copy this file to a new file named after your domain. In this example, mytest1.com
sudo cp /etc/nginx/sites-available/default /etc/nginx/sites-available/mytest1.comNow edit the file you just copied:
sudo nano /etc/nginx/sites-available/mytest1.comScroll down and look for the line root /var/www/html;. (You can use CTRL + W to search).
Change this root to the path of the directory you created earlier. In our example, /var/www/mytest1.com/public_html
root /var/www/mytest1.com/public_html;
Now look for the line server_name _;. (You can use CTRL + W to search).
Change this to your domain name. In our example, mytest1.com. We will also add www. here as well.
server_name mytest1.com www.mytest1.com;
Save and close nano (Press CTRL + X and then press y and ENTER to save changes)
Ensure the Nginx config file syntax is valid before continuing to the next step. If there is an error in your syntax and you restart Nginx, you can crash the web server.
sudo nginx -tIf syntax is valid you should see:
nginx: the configuration file /etc/nginx/nginx.conf syntax is ok
nginx: configuration file /etc/nginx/nginx.conf test is successful
5.4 Create the Second Server Block
We will now create a server block for our other domain name, in this example, mytest2.com.
The only difference between this step and the last is the removal of default_server from the listen directive in the config file. You can only have one default_server – if you have two, the web server will not start.
Firstly, let’s copy the default server block in /etc/nginx/sites-available/default. Copy this file to a new file named after your domain. In this example, mytest2.com
sudo cp /etc/nginx/sites-available/default /etc/nginx/sites-available/mytest2.comNow edit the file you just copied.
sudo nano /etc/nginx/sites-available/mytest2.comScroll down to the listen directive.
        listen 80 default_server;
        listen [::]:80 default_server;
Only one server block can have the default_server specification. This tells Nginx which block to revert to if the server_name requested does not match any of the available server blocks.
Remove default_server from the listen directive so it looks likes this.
        listen 80;
        listen [::]:80;
Next, scroll down and look for the line root /var/www/html;. (You can use CTRL + W to search).
Change this root to the path of the directory you created earlier. In our example, /var/www/mytest2.com/public_html
root /var/www/mytest2.com/public_html;
Now look for the line server_name _;. (You can use CTRL + W to search).
Change this to your domain name. In our example, myest2.com. We will also add www. here as well.
server_name mytest2.com www.mytest2.com;
Save and close nano (Press CTRL + X and then press y and ENTER to save changes)
Ensure the Nginx config file syntax is valid before continuing to the next step. If there is an error in your syntax and you restart Nginx, you can crash the web server.
sudo nginx -tIf syntax is valid you should see:
nginx: the configuration file /etc/nginx/nginx.conf syntax is ok
nginx: configuration file /etc/nginx/nginx.conf test is successful
6. Create Symbolic Links
We will now create symbolic links from the sites-available directory to the sites-enabled directory, which Nginx reads during startup. Be sure to replace mytest1.com and mytest2.com with your own domains if you have them.
sudo ln -s /etc/nginx/sites-available/mytest1.com /etc/nginx/sites-enabled/sudo ln -s /etc/nginx/sites-available/mytest2.com /etc/nginx/sites-enabled/We also have to remove the symbolic link for the default server block, otherwise it will interfere with our two new ones.
sudo rm /etc/nginx/sites-enabled/defaultNow restart Nginx.
sudo service nginx restart7. Test Nginx
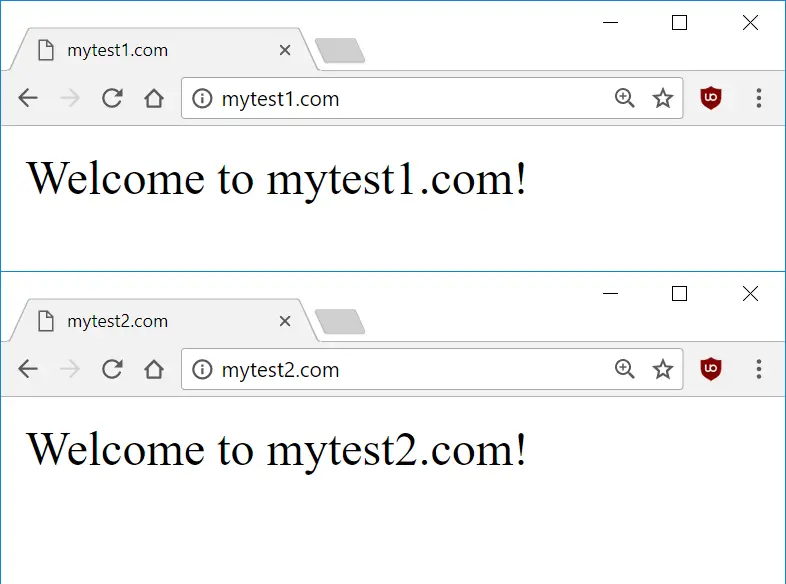
Assuming you have already configured DNS on your domain registrar to point your domains to the IP of your Nginx server, you should now be able to view these test web pages in the browser. If you don’t have any domains and just want to test mytest1.com and mytest2.com, continue to the next step.
8. Edit Hosts file (optional)
If you do not have any domains registered and instead just want to load mytest1.com and mytest2.com as a test, you can edit the hosts file in your OS to point these domains to your server.
To edit hosts file in Linux or Mac, run sudo nano /etc/hosts. In Windows, follow this guide to edit hosts. Once hosts files is open, enter two new lines
x.x.x.x mytest1.com
x.x.x.x mytest2.com
Replace x.x.x.x with your web server’s IP.
If you don’t know your web server’s IP, you can find out with:
ip a | grep -Eo 'inet (addr:)?([0-9]*\.){3}[0-9]*' | grep -Eo '([0-9]*\.){3}[0-9]*' | grep -v '127.0.0.1'Once you’ve saved you hosts file, you should be able to access mytest1.com and mytest2.com in your browser.
What Next?
Now that you have your Nginx server tested and working, the next step is to install MySQL, PHP and phpMyAdmin.
- Installing MySQL on Ubuntu 18.04 / 19.10 Server
- Installing PHP for Nginx on Ubuntu18.04 / 19.10 Server
- Installing phpMyAdmin for Nginx on Ubuntu 18.04 / 19.10
Let me know if this helped. Follow me on Twitter, Facebook and YouTube, or 🍊 buy me a smoothie.
Work perfectly on WSL2 ❤
thanks you so much
why cant it work on windows subsystem linux?
I just did it on WSL with Ubuntu and it works like a charm…
good
Great job! Simple. worked great. But next step nowadays is always to upgrade to https.
Thanks alot 🙂 without your Thread i will have little troubles configuring this 😉 works great !
Success. Thank you!
Hi I do get this error
403 Forbidden
nginx/1.14.0 (Ubuntu)
I followed your steps. Can you please advice what could be wrong?
Thank you
Do you have any article for the caching Sir?
No, not sure when.
Thank You Sir. !
Sir, I already added the server into the host of my server etc/hosts but still ” site cannot be reached”
127.0.0.1 localhost
127.0.1.1 MimicDigitalMarketing
144.202.103.234 mimic.com
The following lines are desirable for IPv6 capable hosts
::1 localhost ip6-localhost ip6-loopback
ff02::1 ip6-allnodes
ff02::2 ip6-allrouters
Thnx. Im Using vultr
It seems like an issue with your OS. Are you on Windows, Mac, Linux?
You may need to restart your machine for the hosts file to be picked up.
im using WIndows
The tool im using is Putty
I already tried to restart the machine just now. Still the same…
The host in my windows is working fine, but my host in my server is not working.
When you ping mimic.com in Command Prompt, is the IP coming up 144.202.103.234?
Yes2x ht IP is coming up 64 bytes from mimic.com (144.202.103.234): icmp_seq=1 ttl=64 time=0.052 ms 64 bytes from mimic.com (144.202.103.234): icmp_seq=2 ttl=64 time=0.056 ms
It’s working for me. https://i.imgur.com/pfpl6tr.png
Try clearing your cache or using a different browser.
If i type the ip address its working. But if i type mimic.com “page cannot be found ” Done trying cleaning the cache and using other browser ..still not working..What should i do?
Well, the problem is not the server. Try a different computer or mobile device.
I have 8 domains on my Apache2 server with wordpress. I have the hostfile on my computer. Not on the server. And it look like this
192.168.1.19. Domain1.com servername.
192.168.1.19 Domain2.com. servername.
Trond Nyløkken