
1. Install Apache
Let’s begin by updating the package lists and installing Apache on Ubuntu 20.04.
Below we have two commands separated by &&. The first command will update the package lists to ensure you get the latest version and dependencies for Apache . The second command will download and install Apache.
Press y and ENTER when asked to continue.
sudo apt update && sudo apt install apache2Installation may take a few minutes. Once installed, continue to Step 2 to configure the firewall.
2. Configure Firewall
It is highly recommended that you configure a firewall for added security.
We’ll start by adding a firewall rule for SSH because if you are configuring your server remotely, you don’t want to get locked out when enabling the firewall. You may have already done this in the our Initial server setup for Ubuntu 20.04 guide, but it’s no harm adding it again just in case. If the rule already exists, the command will just skip it.
sudo ufw allow OpenSSHIf you get an error “ERROR: could find a profile matching openSSH”, this probably means you are not configuring the server remotely and can ignore it.
Now we can add the firewall rules for Apache.
sudo ufw allow in "Apache Full"Now enable the firewall if it isn’t already.
sudo ufw enablePress y if you see a message “Command may disrupt existing ssh connections”.
If the firewall was activated correctly, you should see “Firewall is active and enabled on system startup“.
You can also check the current firewall status with:
sudo ufw statusStatus: active
To Action From
-- ------ ----
OpenSSH ALLOW Anywhere
Apache Full ALLOW Anywhere
OpenSSH (v6) ALLOW Anywhere (v6)
Apache Full (v6) ALLOW Anywhere (v6)Above we can see the firewall is active and has two rules per service. v6 is short for IPv6.
3. Test Apache
To see if Apache installed correctly, we can check the current Apache service status.
sudo service apache2 statusIf it is up and running, you should see a green active state.
● apache2.service - The Apache HTTP Server
Loaded: loaded (/lib/systemd/system/apache2.service; enabled; vendor preset: enabled)
Drop-In: /lib/systemd/system/apache2.service.d
└─apache2-systemd.conf
Active: active (running) since Sat 2020-03-31 08:44:04 CEST; 15min ago
Main PID: 5727 (apache2)
Tasks: 55 (limit: 4915)
CGroup: /system.slice/apache2.service
├─5727 /usr/sbin/apache2 -k start
├─5728 /usr/sbin/apache2 -k start
└─5729 /usr/sbin/apache2 -k start

Mar 31 08:44:04 ubuntu2004 systemd[1]: Starting The Apache HTTP Server...
Mar 31 08:44:04 ubuntu2004 apachectl[5675]: AH00558: apache2: Could not reliably determine the server's fully qualified domain name, using 127.0.1.1.
Mar 31 08:44:04 ubuntu2004 systemd[1]: Started The Apache HTTP Server.
If you get the above error about a fully qualified domain name, you can ignore it.
You may need to press q to exit the server status.
Now that the Apache service is up and running, you should be able to view the test Apache web page through your web browser. Enter the IP address of your server in the address bar and hit ENTER.
If you don’t know your IP, you can find out with the following command.
ip addr show eth0 | grep inet | awk '{ print $2; }' | sed 's/\/.*$//'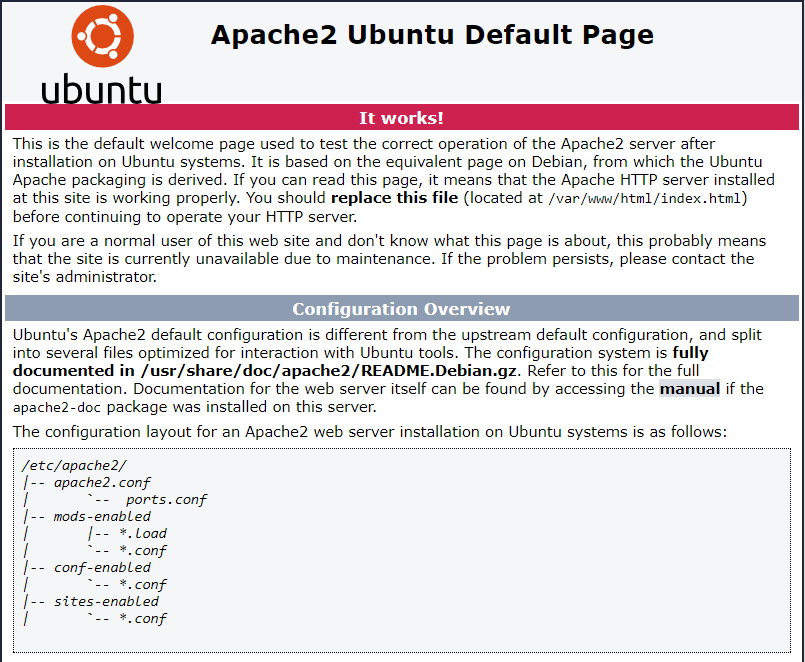
You can find this Apache default welcome page in the folder /var/www/html. To edit this file:
sudo nano /var/www/html/index.htmlPress CTRL + X to exit the nano text editor.
4. Configure a Virtual Host
If you want to host multiple domains on your Ubuntu 20.04 server, you should set up a virtual host.
Create a new directory in /var/www/ for your domain. Just replace mydomain.com with your own.
sudo mkdir -p /var/www/mydomain.com/public_htmlCreate an index.html file for testing.
sudo nano /var/www/mydomain.com/public_html/index.htmlEnter the following.
<html>
   <head>
     <title>Welcome!</title>
   </head>
   <body>
      <h1>Welcome to mydomain.com!</h2>
   </body>
</html>
Save and exit (press CTRL + X, press Y and then press ENTER)
Create a virtual host configuration file replacing mydomain.com with your own.
sudo nano /etc/apache2/sites-available/mydomain.com.confEnter the following, replacing mydomain.com with your own.
<VirtualHost *:80>
    ServerAdmin webmaster@mydomain.com
    ServerName mydomain.com
    ServerAlias www.mydomain.com
    DocumentRoot /var/www/mydomain.com/public_html
    ErrorLog ${APACHE_LOG_DIR}/error.log
    CustomLog ${APACHE_LOG_DIR}/access.log combined
</VirtualHost>
Save and exit (press CTRL + X, press Y and then press ENTER)
Test for errors.
apachectl configtestEnable your virtual host replacing mydomain.com with your own.
sudo a2ensite mydomain.com.confDisable the default Apache website, otherwise it will override your virtual host.
sudo a2dissite 000-defaultRestart Apache.
sudo systemctl reload apache2As long as you’ve pointed the A record for your domain to the IP of your server, you should now be able to load the site in the browser.
You can now add more domains by repeating Step 4.
5. Configure Apache (Optional)
Now that you have Apache up and running, there may be some common configuration changes that will be useful to you.
5.1. Disable Directory Listing and Enable AllowOverride
Apache by default will list contents of your directories without indexes (index.html, index.php). This is a security risk because it could allow hackers to browse your web server looking for scripts.
You will also find that .htaccess will be ignored by default in Apache. If you need .htaccess, you can enable it by altering the Apache configuration file.
Open the config file.
sudo nano /etc/apache2/apache2.confPress CTRL + W and search for <Directory /var/www/>.
The block should look something like this:
<Directory /var/www/>
        Options Indexes FollowSymLinks
        AllowOverride None
        Require all granted
</Directory>
Delete Indexes to stop Apache listing directories and change AllowOverride to All to enable .htaccess. It should now look like this:
<Directory /var/www/>
        Options FollowSymLinks
        AllowOverride All
        Require all granted
</Directory>
Save and exit (press CTRL + X, press Y and then press ENTER)
Restart Apache.
sudo systemctl restart apache25.2. Enable mod_rewrite
If you want to later configure some rules in .htaccess, you will most likely need to enable mod_rewrite.
sudo a2enmod rewriteRestart Apache.
sudo systemctl restart apache2What Next?
Now that you have Apache on Ubuntu 20.04 up and running, you can begin installing PHP, MySQL and phpMyAdmin. You might also need a free SSL cert for your domain.
- How To Install PHP for Apache on Ubuntu 20.04
- How To Install MySQL Server on Ubuntu 20.04
- How To Install phpMyAdmin for Apache on Ubuntu 20.04
- How To Install a Let’s Encrypt SSL Cert for Apache on Ubuntu 20.04
Let me know if this helped. Follow me on Twitter, Facebook and YouTube, or 🍊 buy me a smoothie.

Great explanation. But I want to know ; if I want a wordpress site to be hosted on another virtualhost, How can I achieve this
Thank you
Thank you very much for sharing, your sharing is very helpful to me. However, I have a problem. I have two domain names http://www.a.com and http://www.b.com, the IP address is visiting http://www.a.com, I want the IP address to be able to visit http://www.b.com instead of http://www.a.com, please ask me what I need How to do it? Looking forward to your help, thank you.
“Server not found”
🙁
Hi!!
I love this, I just have a question as a newbie, is there any way to make subdomains???
Yes, you just follow Step 4 above and replace mydomain.com with subdomain.domain.com
Works great. Explanation is well detailed and simple to understand. Kudos!