Introduction
This issue appears to be related to caching, in my case the W3 Total Cache plugin and the file object-cache.php located in the /wp-content folder.
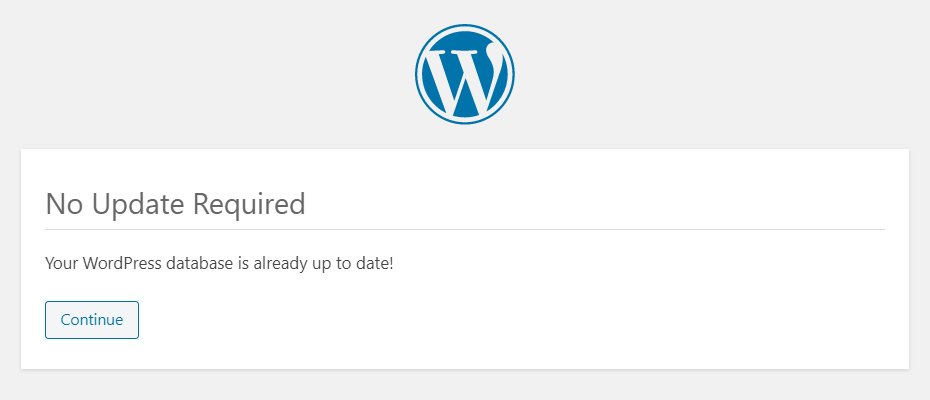
If you update WordPress without disabling W3 Total Cache first, in some situations you may get locked out of /wp-admin and see “No Update Required: Your WordPress database is already up to date!” in an unending loop.
Luckily there is a quick fix for this that worked for me.
If you are not using W3TC, try disabling whatever WordPress caching plugin you’re using or purge your server cache (Memcached, Redis). If you’re on shared hosting, you may need to contact your host for assistance.
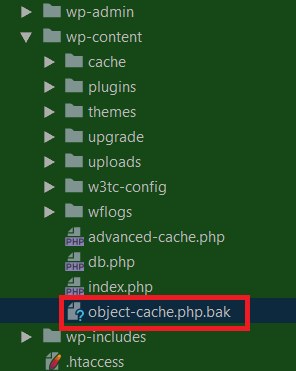
1. Rename object-cache.php
You will need FTP access to your web server document root.
Go to the folder /wp-content/ and rename the file object-cache.php to object-cache.php.bak.
2. Log in to WordPress Again
Go to the WordPress login page (yourdomain.com/wp-admin) and you should now be able to log in to WordPress.
If you can’t log in and are still seeing the same message “No Update Required: Your WordPress database is already up to date!” , this may not be related to W3 Total Cache. Please see comments below.
If you see the message below, just click THIS EMAIL IS CORRECT.
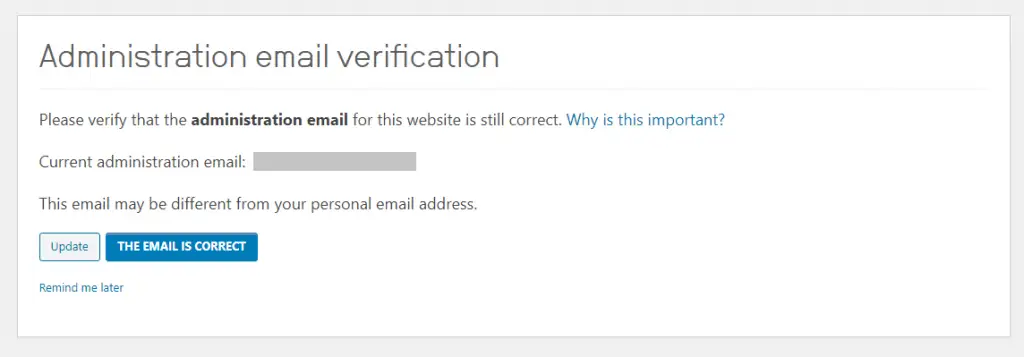
I’m not sure why this above message comes up, it must be detecting a security issue.
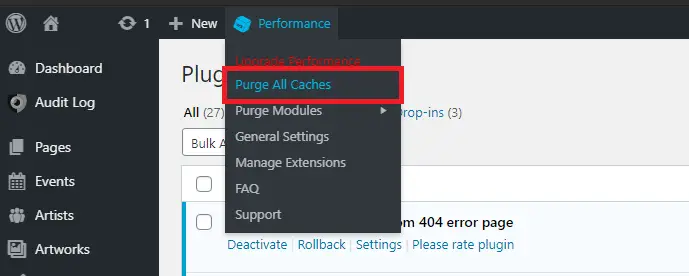
3. Purge All Caches
In the W3 Total Cache Performance menu in the WordPress admin navigation bar, click Purge All Caches.
4. Check object-cache.php Has Been Recreated
Go back to FTP and refresh the folder /wp-content/.
If object-cache.php has been recreated for you, you can now delete object-cache.php.bak.
If object-cache.php hasn’t been recreated (perhaps due to permissions), simply rename object-cache.php.bak back to object-cache.php.
5. Purge All Caches Again
Just to be sure, go back to WordPress and Purge All Caches as above.
You should now be good to go. If not, let me know in the comments below.
How to Prevent This in Future?
Whenever you update plugins or run a WordPress upgrade, you should disable the W3 Total Cache plugin temporarily (or whatever caching system you have in place). Once you’ve finished updating, re-enable W3 Total Cache and Purge All Caches again.
Let me know if this helped. Follow me on Twitter, Facebook and YouTube, or 🍊 buy me a smoothie.
Thank you. It works. I just installed WordPress – OpenLiteSpeed.
Oddly, my site doesn’t have W3TC cache plugin. Only uses LiteSpeed Cache. Which, as far as I know, doesn’t use the object-cache.php file.
The file (
object-cache.php) is, however, on the site, and renaming it was the only thing that resolved this loop issue. So thanks for that suggestion. I’m leaving theobject-cache.php-oldfile renamed, as no amount of cache flushing (Litespeed Cache, wp-cli cache flush, etc.) seems to allow me to reinstate thecache-object.phpfile.🙂
Thank you for this!!