In this guide we will install and configure Nginx on Ubuntu 16.04 / 17.10. We will also configure some server blocks so we can host multiple domains.
1. Install Nginx
Let’s begin by updating the list of available packages and installing Nginx.
sudo apt-get updatesudo apt-get install nginx2. Configure Firewall
If you haven’t already done so, it is recommended that you enable the ufw firewall and add a rule for Nginx. Before enabling ufw firewall, make sure you add a rule for SSH, otherwise you may get locked out of your server.
sudo ufw allow OpenSSHNow add a rule for Nginx.
sudo ufw allow 'Nginx HTTP'Rule added
Rule added (v6)Enable ufw firewall.
sudo ufw enableCommand may disrupt existing ssh connections. Proceed with operation (y|n)? y
Firewall is active and enabled on system startupNow check the firewall status.
sudo ufw statusStatus: active
To Action From
-- ------ ----
OpenSSH ALLOW Anywhere
Nginx HTTP ALLOW Anywhere
OpenSSH (v6) ALLOW Anywhere (v6)
Nginx HTTP (v6) ALLOW Anywhere (v6)That’s it! Your Nginx web server should be ready.
3. Configure Nginx
The default max upload size allowed by Nginx is 2MB. If you ever plan to use WordPress or similar application that uploads files to the server, you should increase this limit. Otherwise you may skip this step.
Open the Nginx config file.
sudo nano /etc/nginx/nginx.confAdd the following line within the http block
http {
    . . .
    client_max_body_size 64M;
    . . .
}
Save and exit (press CTRL + X, press Y and then press ENTER)
Now, check if the Nginx config file syntax is valid.
sudo nginx -tIf valid, restart Nginx service.
sudo service nginx restart4. Test Web Server
Go to your web browser and visit your domain or IP.
If you don’t have a domain name yet and don’t know your IP, you can find out with:
ip addr show eth0 | grep inet | awk '{ print $2; }' | sed 's/\/.*$//'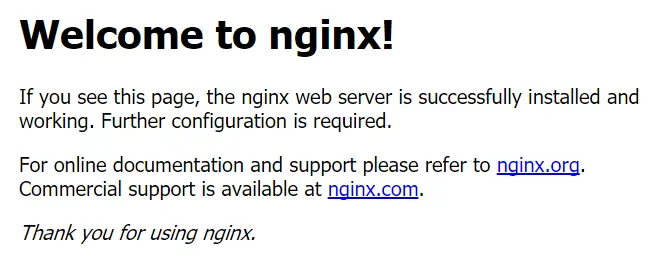
You can also test in terminal using curl.
curl -4 example.comOr by IP:
curl -4 192.168.1.10<!DOCTYPE html>
<html>
<head>
<title>Welcome to nginx!</title>
</head>
<body>
<h1>Welcome to nginx!</h1>
<p>If you see this page, the nginx web server is successfully installed and
working. Further configuration is required.</p>
</html>You’re all done! If you would like to host multiple domains on Nginx, you can continue to Step 5 and configure some server blocks.
5. Configure Server Blocks (Optional)
If you would like to host multiple domains on one Nginx install, you will now need to create some directories and server blocks. Server Blocks are similar to Virtual Hosts in Apache.
Even if you only want to host one domain, it’s a good idea to set up a directory and Server Block now because if you ever need to add a new domain later, it will makes things a lot easier for you.
For the purposes of this guide, we will create a Server Block for test1.com and another for test2.com. You can substitute these with your own domains.
If you don’t have any domains yet, you can still follow this guide and add test1.com and test2.com to your hosts file to trick your OS into resolving these domains in the browser. Please see end of guide on how to do this.
5.1. Create Directories
We are going to create two new directories in the /var/www/ directory for our two domains.
sudo mkdir -p /var/www/test1.com/public_htmlsudo mkdir -p /var/www/test2.com/public_htmlIf we want our regular non-root user to be able to modify files in these directories, we must change the ownership.
sudo chown -R $(whoami):$(whoami) /var/www/test1.com/public_htmlsudo chown -R $(whoami):$(whoami) /var/www/test2.com/public_htmlThe $(whoami) variable will take the value of the user you are currently logged in as.
We must also change the permissions for the general web directory /var/www and its contents so that pages can be served correctly.
sudo chmod -R 755 /var/www5.2. Create Test Web Pages
We’ll now create a simple index.html web page for each domain using the nano editor.
Don’t forget to replace test1.com with your own domain.
nano /var/www/test1.com/public_html/index.htmlOnce nano editor is open, copy and paste in the html below. To paste into nano, use the right mouse button.
<html>
<head>
<title>test1.com test page</title>
</head>
<body>
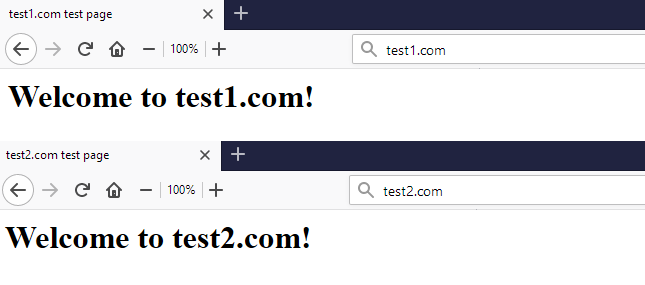
<h1>Welcome to test1.com!</h1>
</body>
</html>Save and close nano (Press CTRL + X and then press y and ENTER to save changes)
We can now duplicate this webpage and copy it do the test2 directory. Don’t forget to replace test1.com and test2.com with your own domains.
cp /var/www/test1.com/public_html/index.html /var/www/test2.com/public_html/index.htmlNow edit this second html file and change it as you wish.
nano /var/www/test2.com/public_html/index.htmlExample:
<html>
  <head>
    <title>test2.com test page</title>
  </head>
  <body>
    <h1>Welcome to test2.com!</h1>
  </body>
</html>
Save and close nano (Press CTRL + X and then press y and ENTER to save changes)
5.3 Create the First Server Block
Nginx contains a default server block in /etc/nginx/sites-available/default which we can use as a template for our own server blocks.
Copy this file to a new file named after your domain. In this example, test1.com
sudo cp /etc/nginx/sites-available/default /etc/nginx/sites-available/test1.comNow edit this file
sudo nano /etc/nginx/sites-available/test1.comScroll down and look for the line root /var/www/html;. (You can use CTRL + W to search).
Change this root to the path of the directory you created earlier. In our example, /var/www/test1.com/public_html
...
root /var/www/test1.com/public_html;
...
Now look for the line server_name _;. (You can use CTRL + W to search).
Change this to your domain name. In our example, test1.com. We will also add www. here as well.
...
server_name test1.com www.test1.com;
...
Save and close nano (Press CTRL + X and then press y and ENTER to save changes)
Ensure the Nginx config file syntax is valid before continuing to the next step.
sudo nginx -t5.4 Create the Second Server Block
We will now create a server block for our other domain name, in this example, test2.com.
The only difference between this step and the last is the removal of default_server from the listen directive.
Firstly, let’s copy the default server block in /etc/nginx/sites-available/default. Copy this file to a new file named after your domain. In this example, test2.com
sudo cp /etc/nginx/sites-available/default /etc/nginx/sites-available/test2.comNow edit this file
sudo nano /etc/nginx/sites-available/test2.comScroll down to the listen directive.
...
        listen 80 default_server;
        listen [::]:80 default_server;
...
Only one server block can have the default_server specification. This tells Nginx which block to revert to if the server_name requested does not match any of the available server blocks.
Remove default_server from the listen directive so it looks likes this.
...
        listen 80;
        listen [::]:80;
...
Next, scroll down and look for the line root /var/www/html;. (You can use CTRL + W to search).
Change this root to the path of the directory you created earlier. In our example, /var/www/test2.com/public_html
...
root /var/www/test2.com/public_html;
...
Now look for the line server_name _;. (You can use CTRL + W to search).
Change this to your domain name. In our example, test2.com. We will also add www. here as well.
...
server_name test2.com www.test2.com;
...
Save and close nano (Press CTRL + X and then press y and ENTER to save changes)
Ensure the Nginx config file syntax is valid before continuing to the next step.
sudo nginx -t6. Create Symbolic Links and Test
We will now create symbolic links from the sites-available directory to the sites-enabled directory, which Nginx reads during startup.
sudo ln -s /etc/nginx/sites-available/test1.com /etc/nginx/sites-enabled/sudo ln -s /etc/nginx/sites-available/test2.com /etc/nginx/sites-enabled/We also have to remove the symbolic link for the default server block, otherwise it will interfere with our two new ones.
sudo rm /etc/nginx/sites-enabled/defaultNow restart Nginx.
sudo service nginx restartAssuming you have already configured DNS on your domain registrar to point your domains to the IP of your Nginx server, you should now be able to view these test webpages in the web browser.
7. Edit Hosts file (optional)
If you do not have any domains registered and instead just want to load test1.com and test2.com as a test, you can edit the hosts file in your OS to point these domains to your server.
To edit hosts file in Linux or Mac, run sudo nano /etc/hosts. In Windows, follow this guide to edit hosts. Once hosts files is open, enter two new lines
x.x.x.x test1.com
x.x.x.x test2.com
Replace x.x.x.x with your server’s IP.
If you don’t know your IP, you can find out with:
ip addr show eth0 | grep inet | awk '{ print $2; }' | sed 's/\/.*$//'Let me know if this helped. Follow me on Twitter, Facebook and YouTube, or 🍊 buy me a smoothie.
