In this guide we will install and configure the Apache web server on Ubuntu 16.04 / 17.10. You can use this guide for a single domain website or multiple domains using Virtual Hosts.
Prerequisites
You should use a non-root user account with sudo privileges. Please see Initial server setup for Ubuntu 16.04 / 17.10 for more details.
1. Install Apache
Let’s begin by updating the list of available packages and installing Apache.
sudo apt-get updatesudo apt-get install apache22. Configure Firewall (optional)
It is highly recommended that you configure a firewall for added security. If you don’t want to set up a firewall, skip to Step 3.
Firstly, add a firewall rule for SSH so you don’t get disconnected. You may have already done this in the our Initial server setup for Ubuntu 16.04 / 17.10 guide, but it’s no harm adding it again to be sure.
sudo ufw allow OpenSSHsudo ufw allow in "Apache Full"Now enable the firewall if it isn’t already.
sudo ufw enablePress y if you see a message “Command may disrupt existing ssh connections”.
Now check the firewall status.
sudo ufw statusStatus: active
To Action From
-- ------ ----
OpenSSH ALLOW Anywhere
Apache Full ALLOW Anywhere
OpenSSH (v6) ALLOW Anywhere (v6)
Apache Full (v6) ALLOW Anywhere (v6)
Above we can see the firewall is active and has two new rules for Apache.
3. Test Apache
We can now check to see if the Apache service is running correctly.
sudo systemctl status apache2● apache2.service - LSB: Apache2 web server
Loaded: loaded (/etc/init.d/apache2; bad; vendor preset: enabled)
Drop-In: /lib/systemd/system/apache2.service.d
└─apache2-systemd.conf
Active: active (running) since Fri 2018-01-26 11:03:16 UTC; 44min ago
Docs: man:systemd-sysv-generator(8)
CGroup: /system.slice/apache2.service
├─14763 /usr/sbin/apache2 -k start
├─14766 /usr/sbin/apache2 -k start
└─14767 /usr/sbin/apache2 -k start
Jan 26 11:03:15 myserver systemd[1]: Starting LSB: Apache2 web server...
Jan 26 11:03:15 myserver apache2[14739]: * Starting Apache httpd web server apache2
Jan 26 11:03:15 myserver apache2[14739]: AH00558: apache2: Could not reliably determine the server's fully qualified domain name, using 127.0.1.1. Set
Jan 26 11:03:16 myserver apache2[14739]: *
Jan 26 11:03:16 myserver systemd[1]: Started LSB: Apache2 web server.If you see “active (running)” in green, all should be working correctly. Press CTRL + C to exit.
Apache should now be serving the default web page. Go to your browser and enter your IP address.
If you don’t know your IP, you can find out with:
ip addr show eth0 | grep inet | awk '{ print $2; }' | sed 's/\/.*$//'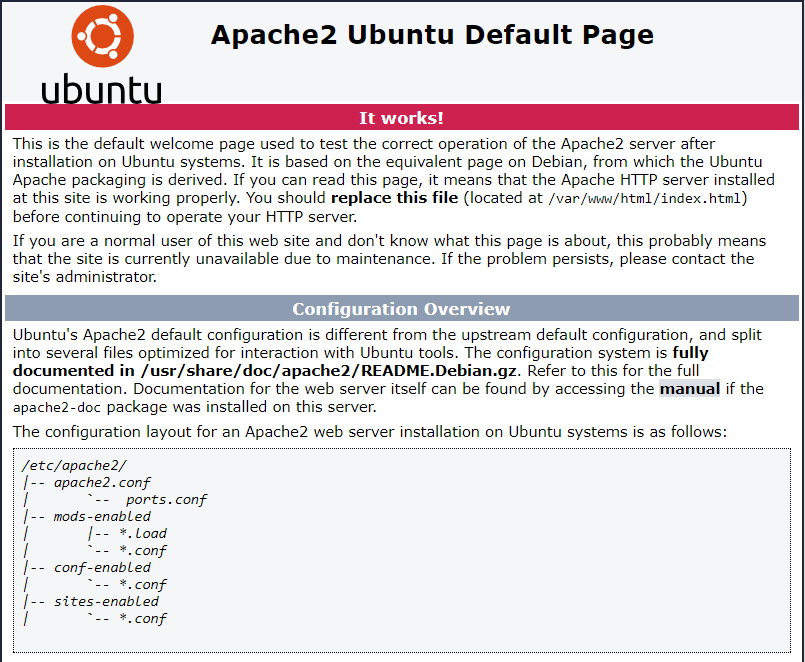
You’re all set! You can find this Apache default welcome page in the folder /var/www/html. To edit this file:
sudo nano /var/www/html/index.htmlPress CTRL + X to exit the nano text editor.
If you would like to host more than one domain with Apache, continue to Step 4.
4. Set up Virtual Hosts (optional)
If you wish to host multiple domains on Apache, you should now set up your directory structures and Virtual Hosts. Even if you only want to host one domain, it’s a good idea to set up a directory and Virtual Host now because if you ever need to add a new domain later, it will makes things a lot easier for you.
For the purposes of this guide, we will make a virtual host for test1.com and another for test2.com. You can substitute these with your own domains.
If you don’t have any domains yet, you can still follow this guide and add test1.com and test2.com to your hosts file to trick your OS into resolving these domains in the browser. Please see end of guide on how to do this.
4.1. Create Directories and Set Permissions
We are going to create two new directories in the /var/www/ directory for our two domains.
sudo mkdir -p /var/www/test1.com/public_htmlsudo mkdir -p /var/www/test2.com/public_htmlIf we want our regular non-root user to be able to modify files in these directories, we must change the ownership.
sudo chown -R $(whoami):$(whoami) /var/www/test1.com/public_htmlsudo chown -R $(whoami):$(whoami) /var/www/test2.com/public_htmlThe $(whoami) variable will take the value of the user you are currently logged in as.
We must also change the permissions for the general web directory /var/www and its contents so that pages can be served correctly.
sudo chmod -R 755 /var/www4.2. Create Test Web Pages
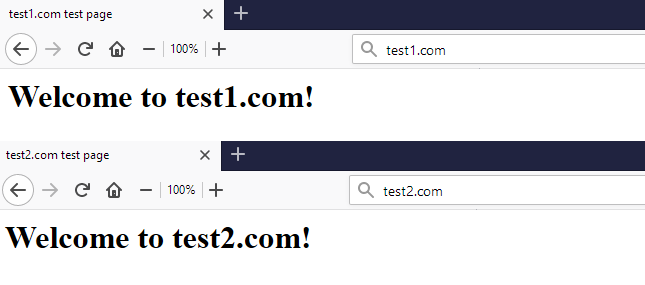
We’ll now create a simple index.html web page for each domain using the nano editor.
Don’t forget to replace test1.com with your own domain.
sudo nano /var/www/test1.com/public_html/index.htmlOnce nano editor is open, copy and paste in the html below. To paste into nano, use the right mouse button.
<html>
  <head>
    <title>test1.com test page</title>
  </head>
  <body>
    <h1>Welcome to test1.com!</h1>
  </body>
</html>
Save and close nano (Press CTRL + X and then press y and ENTER to save changes)
We can now duplicate this webpage and copy it do the test2 directory. Don’t forget to replace test1.com and test2.com with your own domains.
sudo cp /var/www/test1.com/public_html/index.html /var/www/test2.com/public_html/index.htmlNow edit this second html file and change it as you wish.
sudo nano /var/www/test2.com/public_html/index.htmlExample:
<html>
  <head>
    <title>test2.com test page</title>
  </head>
  <body>
    <h1>Welcome to test2.com!</h1>
  </body>
</html>
Save and close nano (Press CTRL + X and then press y and ENTER to save changes)
4.3. Create New Virtual Host Files
The Virtual Host files located in /etc/apache2/sites-available/ are used to tell the Apache web server how to respond to various domain requests.
Let’s create a new virtual host file for our test1.com domain.
sudo nano /etc/apache2/sites-available/test1.com.confIn nano, paste in the block below. To paste into nano, press the right mouse button.
<VirtualHost *:80>
    ServerAdmin webmaster@test1.com
    ServerName test1.com
    ServerAlias www.test1.com
    DocumentRoot /var/www/test1.com/public_html
    ErrorLog ${APACHE_LOG_DIR}/error.log
    CustomLog ${APACHE_LOG_DIR}/access.log combined
</VirtualHost>
Be sure to change all instances of test1.com to your own domain.
Save and close nano (Press CTRL + X and then press y and ENTER to save changes)
We can now repeat the above process for test2.com.
sudo nano /etc/apache2/sites-available/test2.com.confIn nano, paste in the block below. To paste into nano, press the right mouse button.
<VirtualHost *:80>
    ServerAdmin webmaster@test2.com
    ServerName test2.com
    ServerAlias www.test2.com
    DocumentRoot /var/www/test2.com/public_html
    ErrorLog ${APACHE_LOG_DIR}/error.log
    CustomLog ${APACHE_LOG_DIR}/access.log combined
</VirtualHost>
Be sure to change all instances of test2.com to your own domain.
Save and close nano (Press CTRL + X and then press y and ENTER to save changes)
4.4. Enable the New Virtual Host Files
Now that we have our two virtual host files in place, we need to use the a2ensite tool to enable them.
Remember again to replace test1.com and test2.com with your own domains.
sudo a2ensite test1.com.confsudo a2ensite test2.com.confAlmost done! You must now restart Apache to make these changes take effect.
sudo service apache2 restartAssuming you have already configured DNS on your domain registrar to point your domains to the IP of your Apache server, you should now be able to view these test webpages in the web browser.
4.5 Edit Hosts file (optional)
If you do not have any domains registered and instead just want to load test1.com and test2.com as a test, you can edit the hosts file in your OS to point these domains to your server.
To edit hosts file in Linux or Mac, run sudo nano /etc/hosts. In Windows, follow this guide to edit hosts. Once hosts files is open, enter two new lines
x.x.x.x test1.com
x.x.x.x test2.com
Replace x.x.x.x with your server’s IP.
If you don’t know your IP, you can find out with:
ip addr show eth0 | grep inet | awk '{ print $2; }' | sed 's/\/.*$//'5. Configure Apache (Optional)
Now that you have Apache up and running, there may be some common configuration changes that will be useful to you.
5.1. Enable AllowOverride
You will find that .htaccess will be ignored by default in Apache. If this is something you will need, we can enable it by altering the Apache configuration file.
Firstly, backup the configuration file.
sudo cp /etc/apache2/apache2.conf /etc/apache2/apache2.conf.bakOpen the config file.
sudo nano /etc/apache2/apache2.confScroll down the the following section.
<Directory /var/www/>
        Options Indexes FollowSymLinks
        AllowOverride None
        Require all granted
</Directory>
AllowOverride None means that .htaccess will be ignored. Change it to AllowOverride All.
<Directory /var/www/>
        Options Indexes FollowSymLinks
        AllowOverride All
        Require all granted
</Directory>
Save and exit (press CTRL + X, press Y and then press ENTER)
Restart Apache.
sudo systemctl restart apache25.2. Enable mod_rewrite
If you want to later configure some rules in .htaccess, you will most likely need to enable mod_rewrite.
sudo a2enmod rewriteRestart Apache.
sudo systemctl restart apache2Let me know if this helped. Follow me on Twitter, Facebook and YouTube, or 🍊 buy me a smoothie.
thank you~~ will be a happy day in all your life.
Great guide, thank you. 🙂