In this guide we will create your first DigitalOcean Droplet and log into terminal over SSH.
Droplets are virtual servers that can be added and deleted in minutes. You are billed hourly for each droplet until it reaches its monthly cap, which makes for a very affordable and flexible cloud computing solution.
Prerequisites
You should have already signed up for a DigitalOcean account and attached payment details to the account.
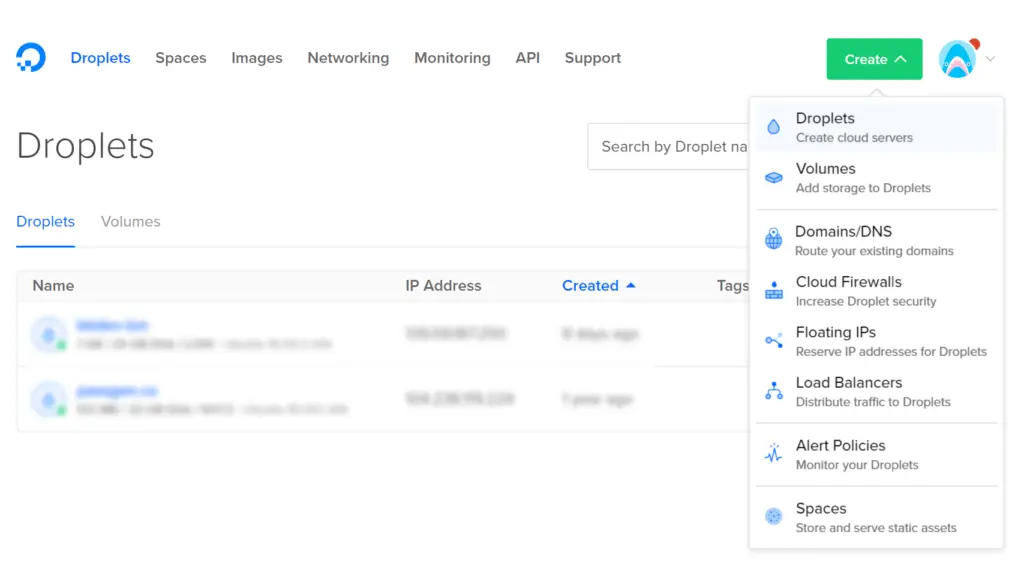
1. Create Droplet
Select the Create button and select Droplets.
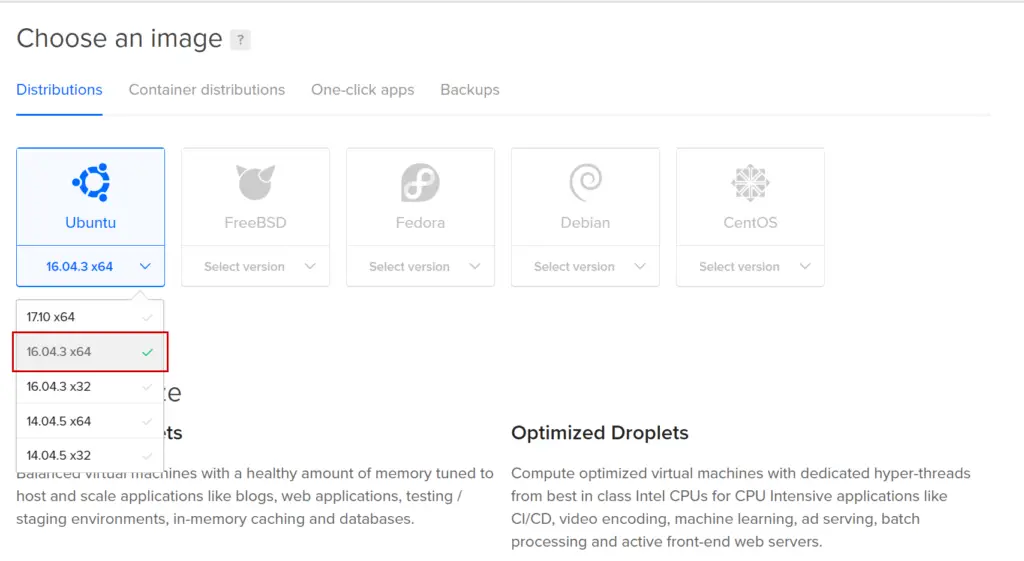
If you are unsure which distribution to choose, Ubuntu 16.04 is by far the most common and best supported. Ubuntu 17.10 does not have long term support and Ubuntu 18.04 will not be available until April or May 2018.
1.1. Choose an Image
You can also choose One-click apps to see a selection of preconfigured images including WordPress.
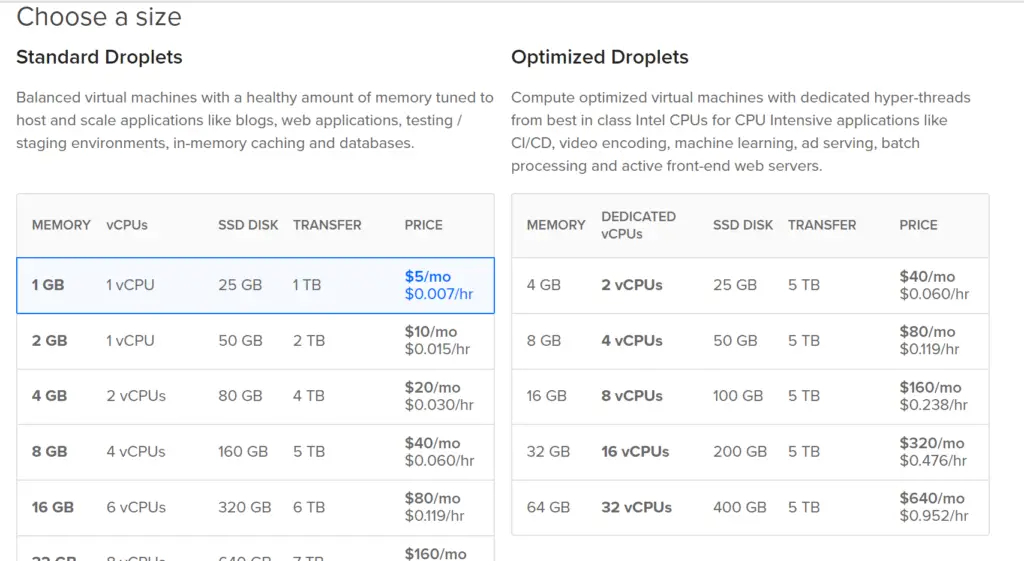
1.2. Choose a Size
You can now select the hardware for you new Droplet. If you are unsure which to select here, the first option is more than enough to get you started. You can always upgrade your droplet hardware later.
1.3. Datacenter Region
Now select a data centre closest to you.
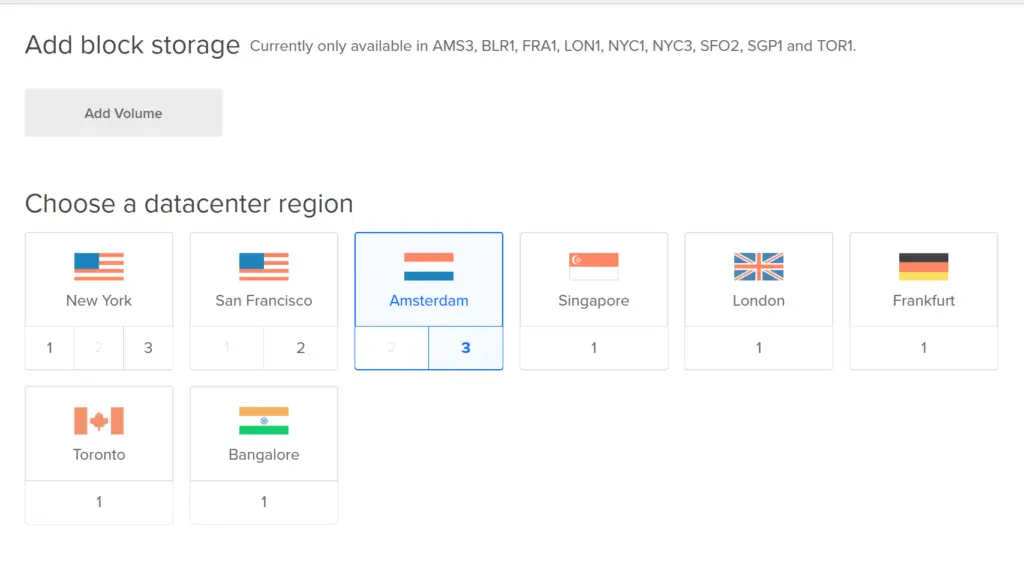
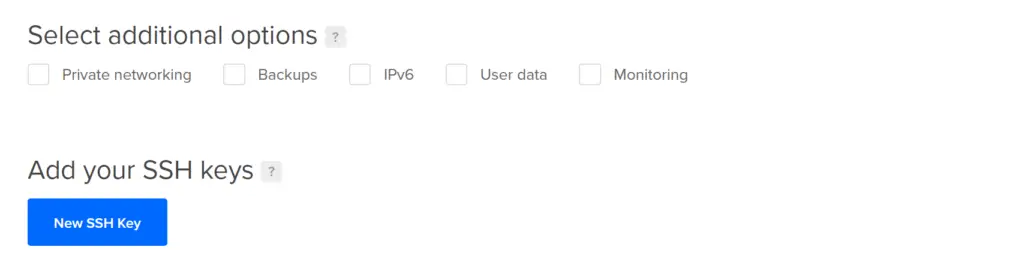
You can skip these two options.
1.4. Droplet Name
Now choose a name for your new Droplet. DigitalOcean will suggest one for you but you can change it to whatever you want.
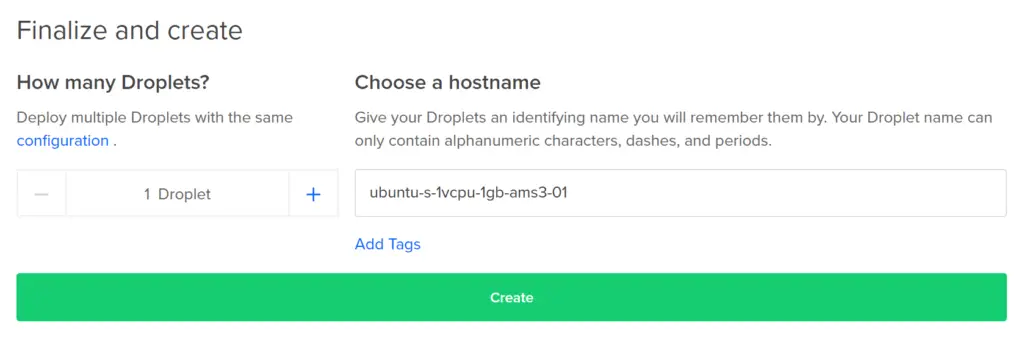
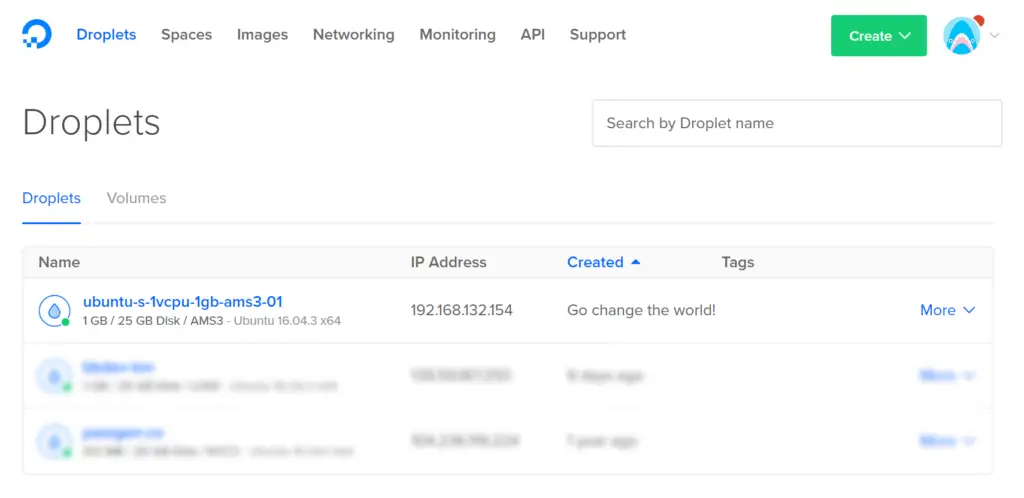
Once you click Create, your Droplet will appear in the Droplets page.
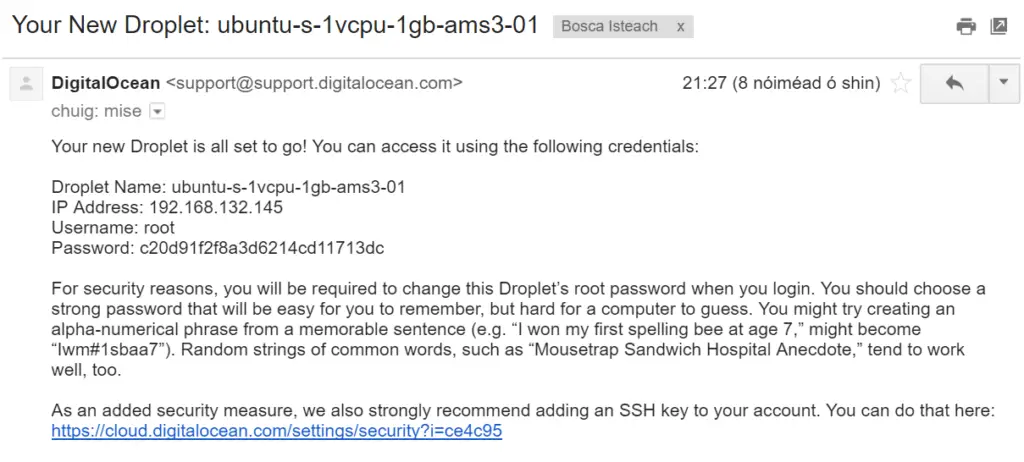
You will also receive an email with your IP address and password.
2. Access Console
You can now access your Droplet via SSH. The SSH protocol is a method for secure remote login from one computer to another.
You can use DigitalOcean’s own SSH console in the browser, however, we don’t recommend it as you cannot copy and paste commands into it.
Please see one of the following guides:
If you would prefer instead to access console using DigitalOcean’s browser-based terminal:
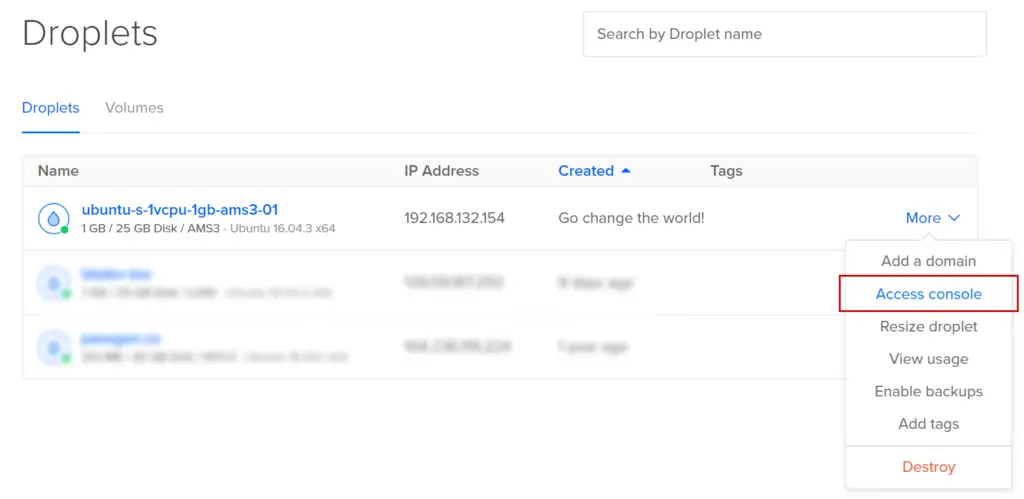
Select More and Access console.
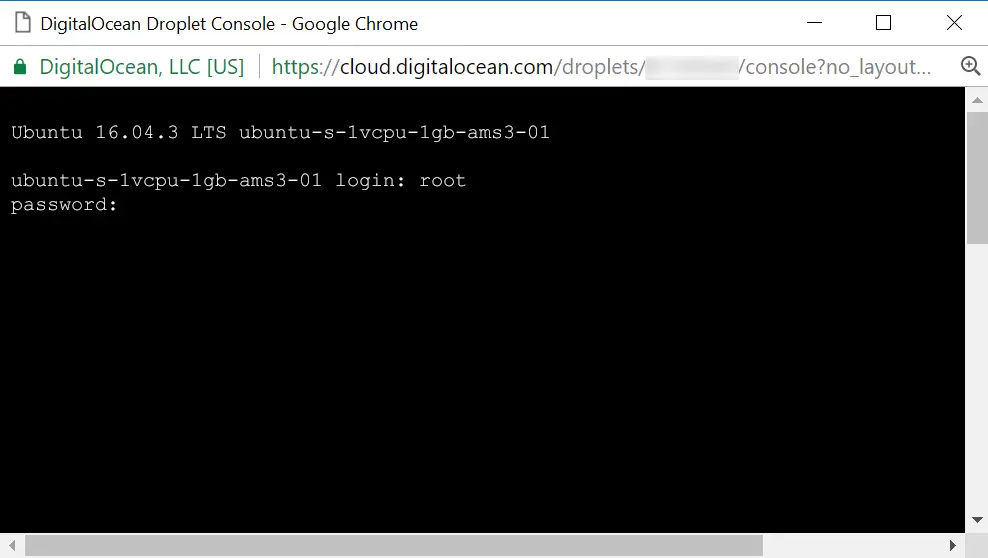
Enter the username root and the password your received in the email. Unfortunately there is no way to paste using the DigitalOcean console so you will have to type the password in manually.
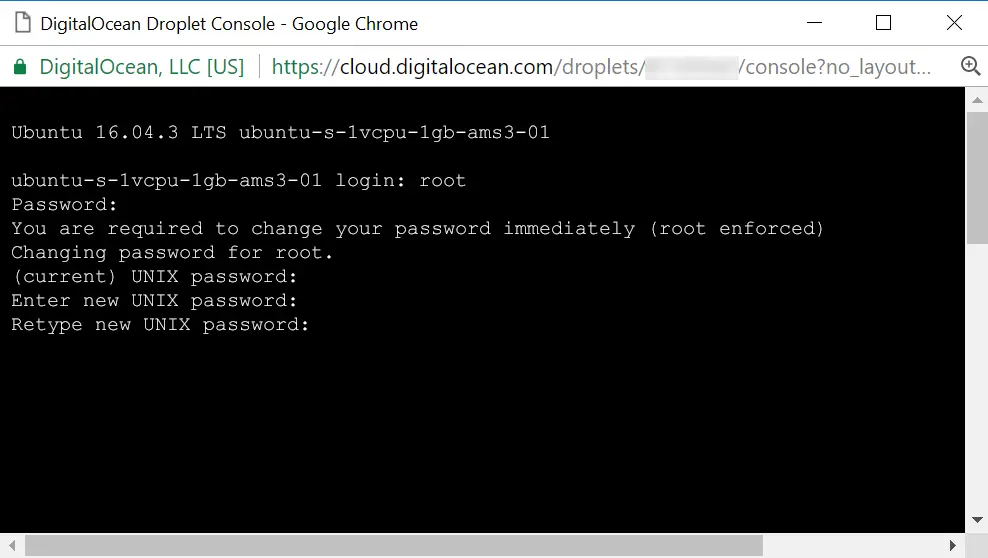
You will now be required to change the password and type in the password you received in the email again.
For the new password, you can enter a shorter password here if you wish. It’s recommended to use upper and lowercase letters and numbers.
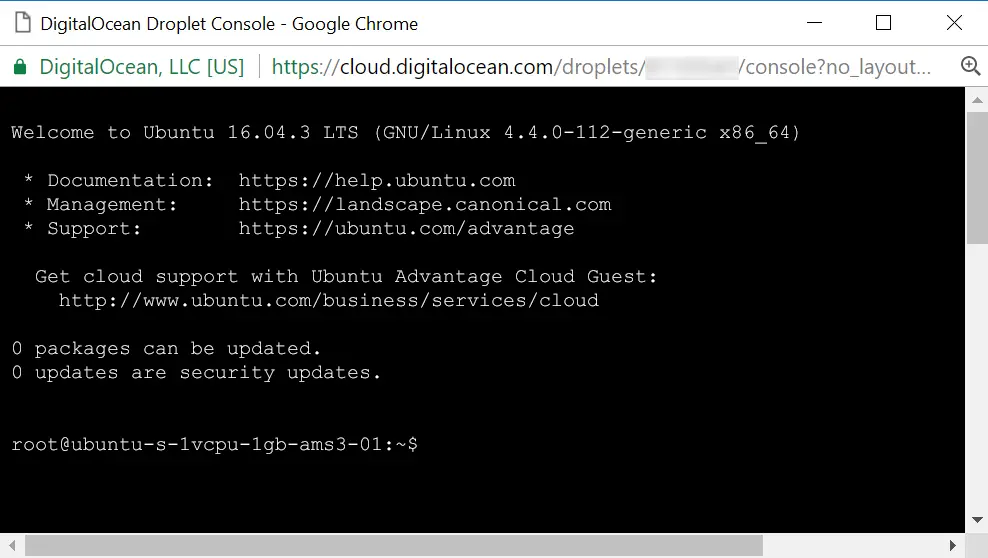
Once you’ve entered your new password, you will be logged into your Linux distribution.
What Next?
Now that your DigitalOcean Droplet is up and running, why not start configuring a web server?
Read the Initial Server Setup guide to get you started.
Let me know if this helped. Follow me on Twitter, Facebook and YouTube, or 🍊 buy me a smoothie.
Hi
I usually used to connect to my server with ssh.
But suddenly it stopped working.
So i tried using digital ocean web console.
I reset my root password.
But in the web console, when i type ‘root’ as username, it does not ask me to enter password.
It just says ‘login incorrect’.
How to fix this?
Thanks
Strange. Do you have a non-standard keyboard? If so, perhaps your keys are not mapped correctly and Linux is receiving the wrong input. I would try on a different computer and keyboard to see if that works.
Did you find a solution? I am also facing issue.